Over the last few years the need for wanting to play around with new technology or lab something has grown dramatically. Go and do a google search and see how many different emulators and simulators are returned. I started when you were the cool kid on the block if you had a copy of Cisco Packet Tracer or once GNS3 came out, man, you were elite. Might not have been the most legal option out there but man was it good at what it did. Fundamentally there was always something wrong with it and things should have been different. Not going to get into that in this post, here we are going to take arguably one of the most popular emulators, EVE-NG and see what it takes to install EVE-NG Community on Proxmox.
If you are like me and prefer to watch a video, here is a link:
The Setup
While you can install EVE-NG on bare metal, for this guide, we’ll use a VM on a Proxmox server. This offers a great alternative to dedicating an entire physical server. This is the server I am using, it’s a Super Micro super server that has the following resources:

Yes, I know, it’s been up for 290 days. I’ll reboot it sometime soon!
There are two different versions of EVE-NG, community and professional. There are some differences that might warrant purchasing a license for the professional version, like multi-server support and being able to edit a topology live. For most people, though, community is more than enough.
Virtual Machine Creation
This is the most vital part of the setup in my mind. You do not want to under power it because you might be rebuilding it, especially if you run out of disk space. Lucky, the folks over there created a resource calculator to help you determine how much resources you need. It will link you to a mega download link, I have a copy here. Here’s a tip: whatever resources you calculate, try to add an extra 20% if you can. You’ll thank me later! 😎. Lets walk through the creation and the resources I have allocated to it
- Step 1 – Create VM
- Step 2 – Choose ISO
- Step 3 – Configure System
- Step 4 – Allocate Disks
- Step 5 – Allocate CPU
- Step 6 – Allocate Memory
- Step 7 – Configure Network
- Step 8 – Review and Launch
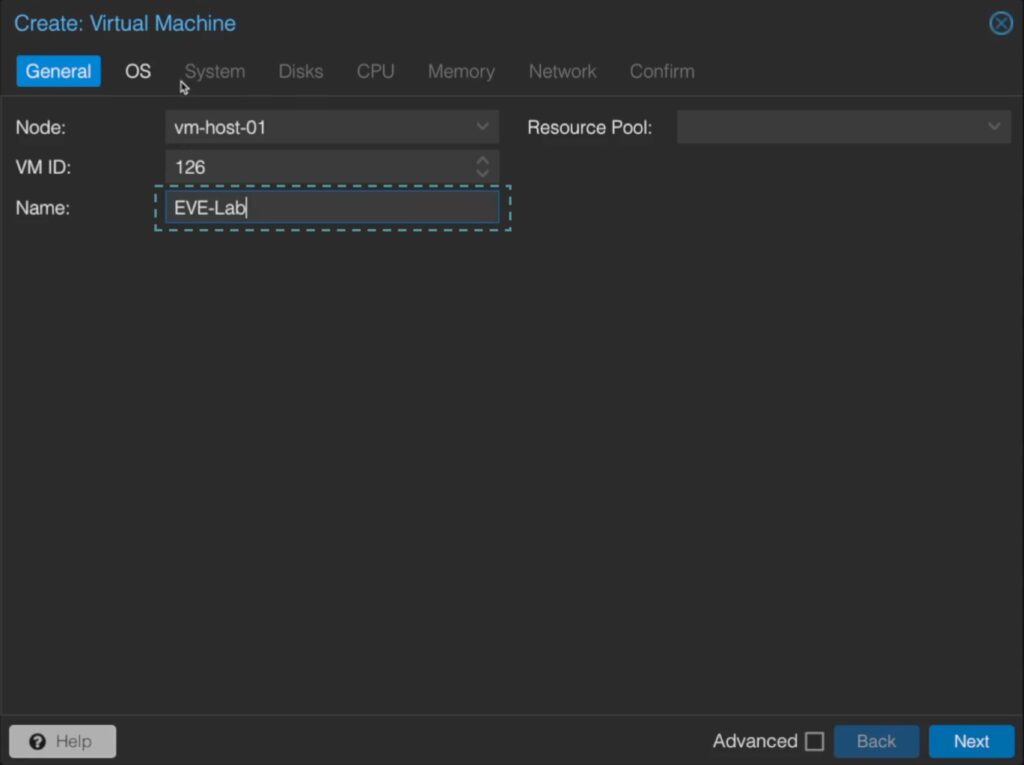
Name the VM
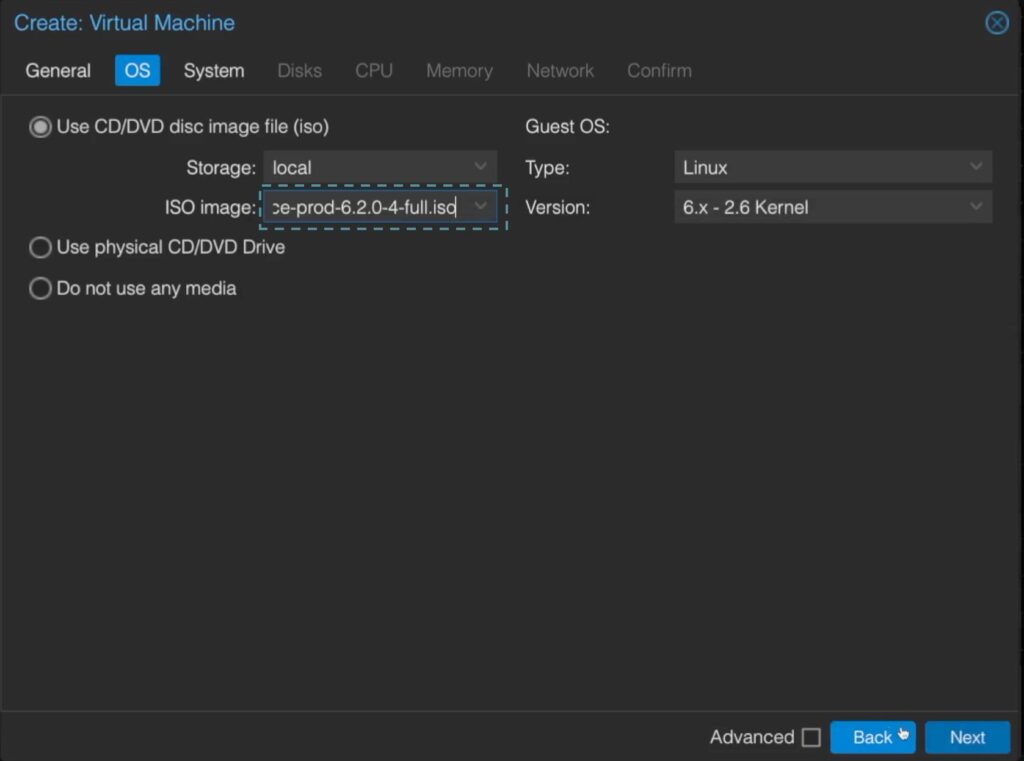
Choose the ISO that was downloaded from https://www.eve-ng.net/index.php/download/
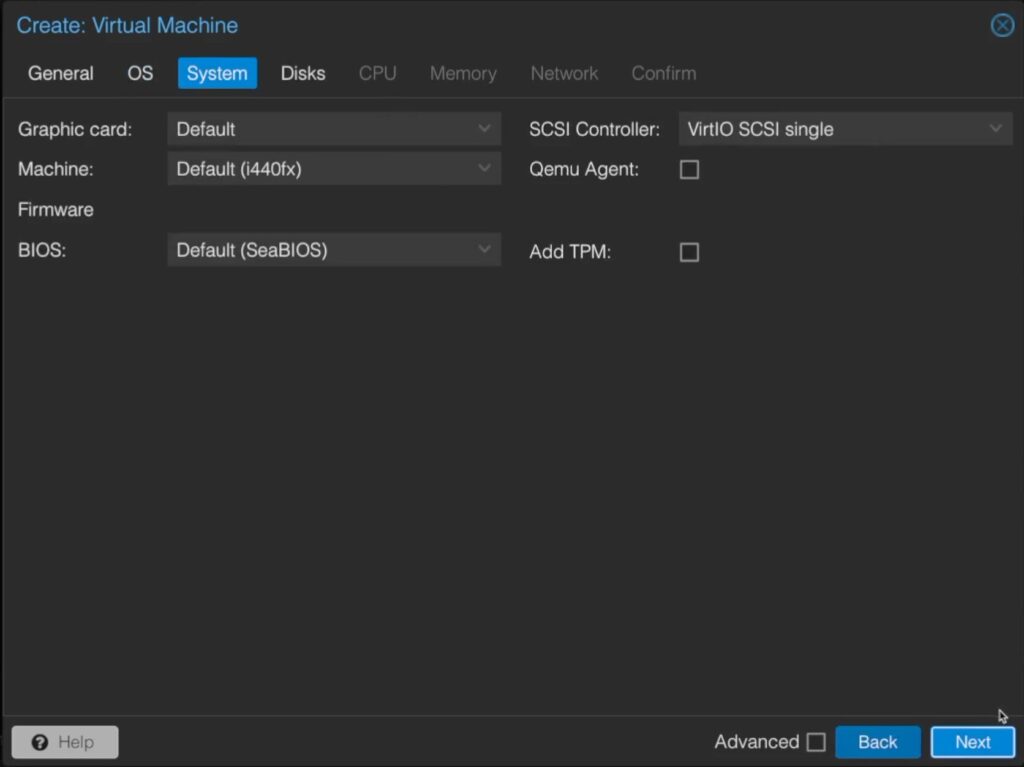
I kept everything the defaults here.
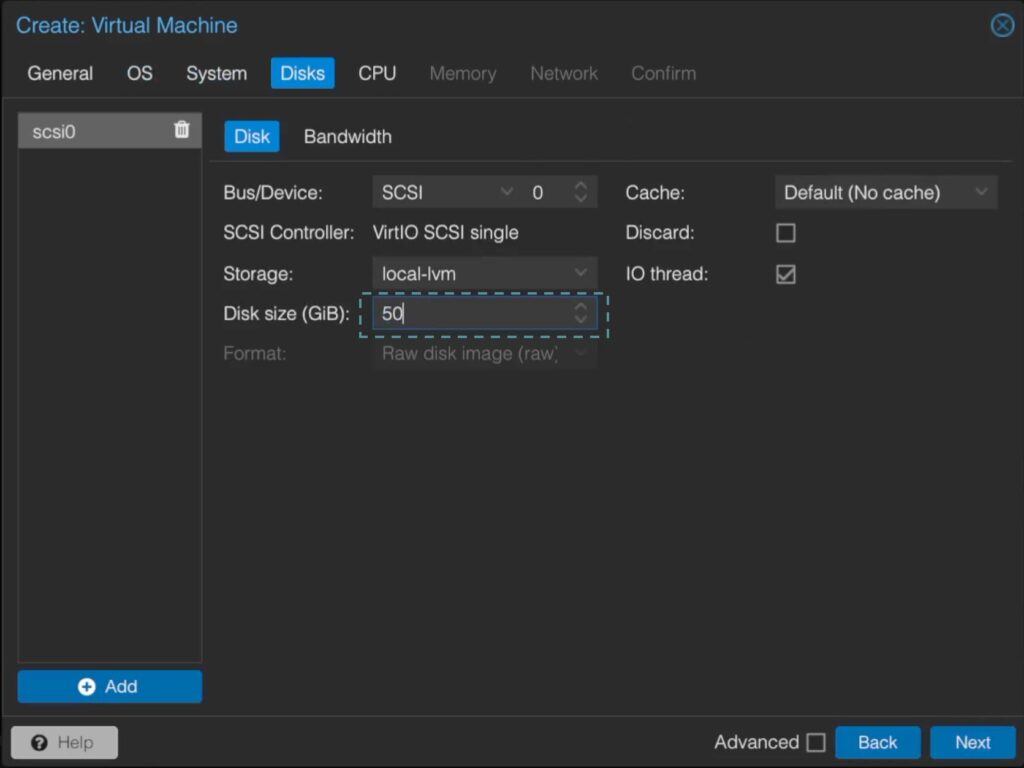
Create the disk, I choose to create a single 50GB disk
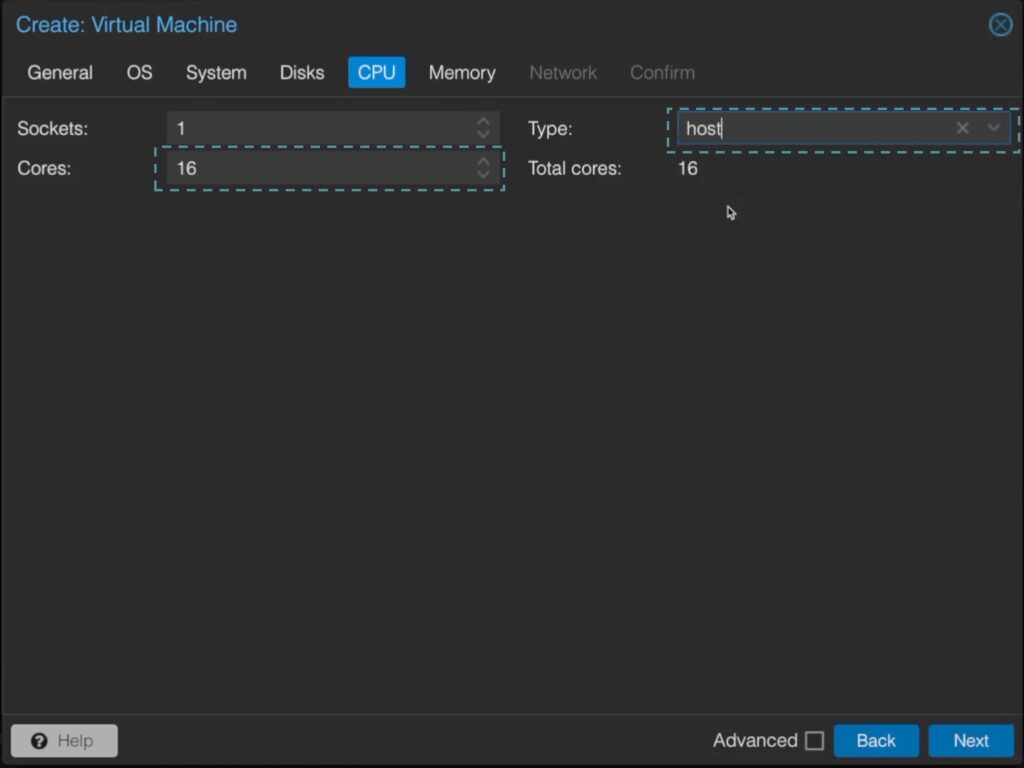
Give the VM the amount of cores you want and make sure the type is set to host. This is so the VM has direct access to the host cores.
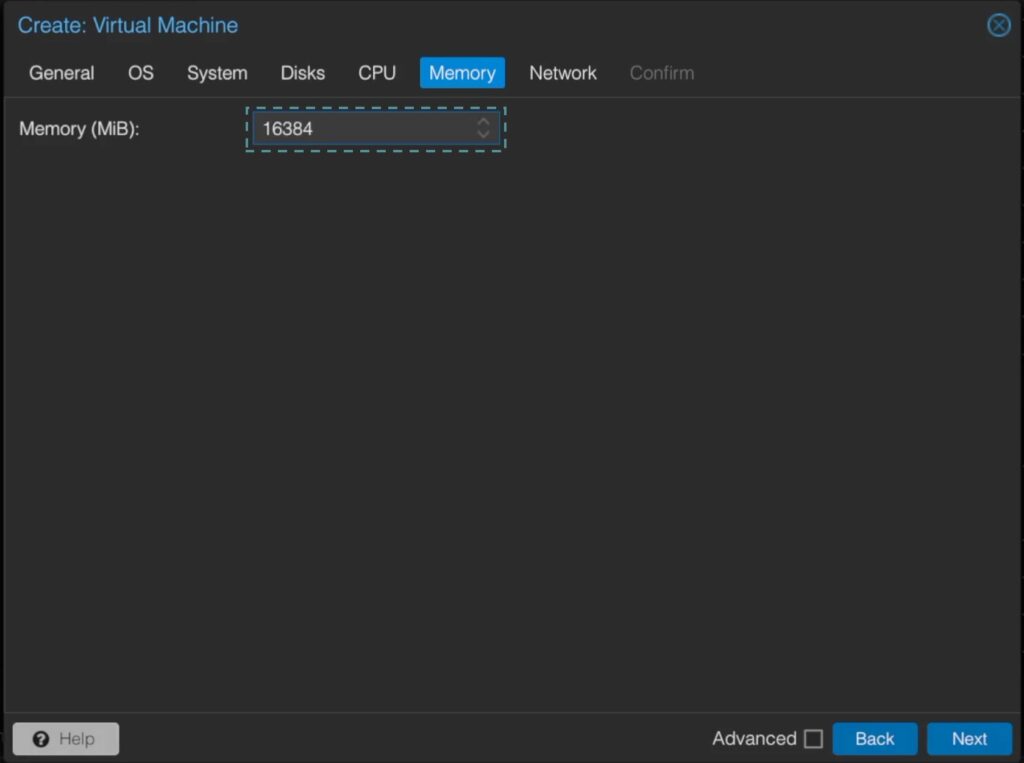
Define amount of memory in Mebibyte (MiB)

Choose the network you want this VM to be in
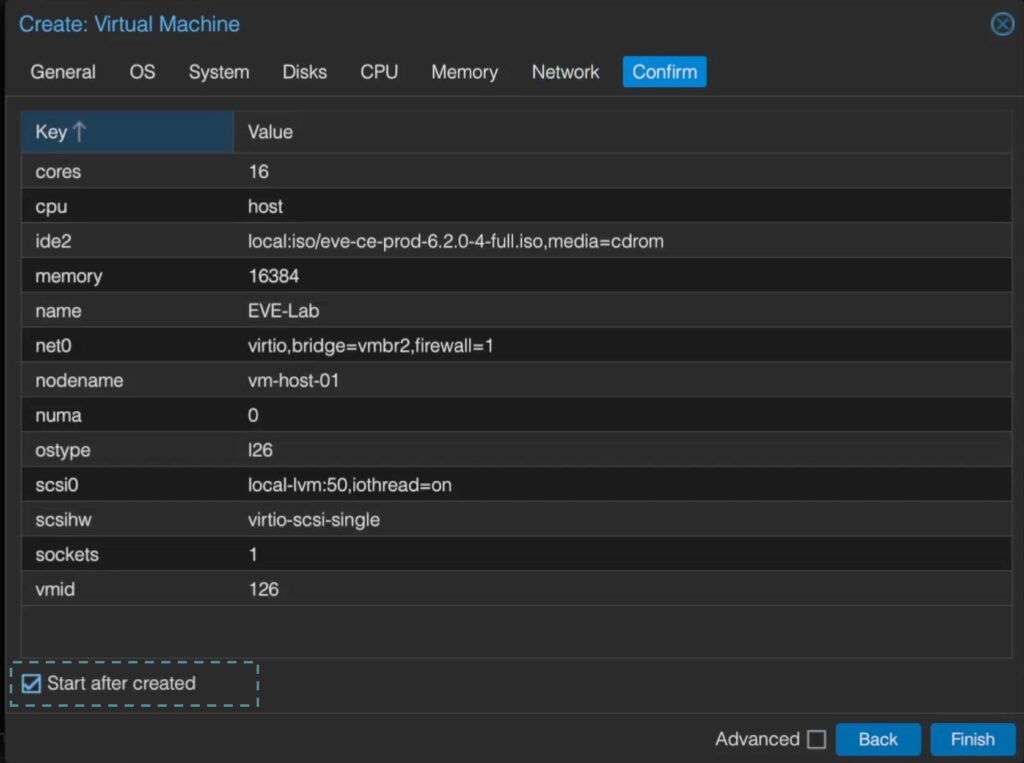
Review what you want provisioned and optionally you can check “Start after created” to start the VM
Ubuntu Setup
This part is easy, you only really have to configure your language and your keyboard layout. Everything else is done via the scripts in the install file. Lets walk through this part
- Choose your Language
- Choose your keyboard layout
- Agree to the destruction!
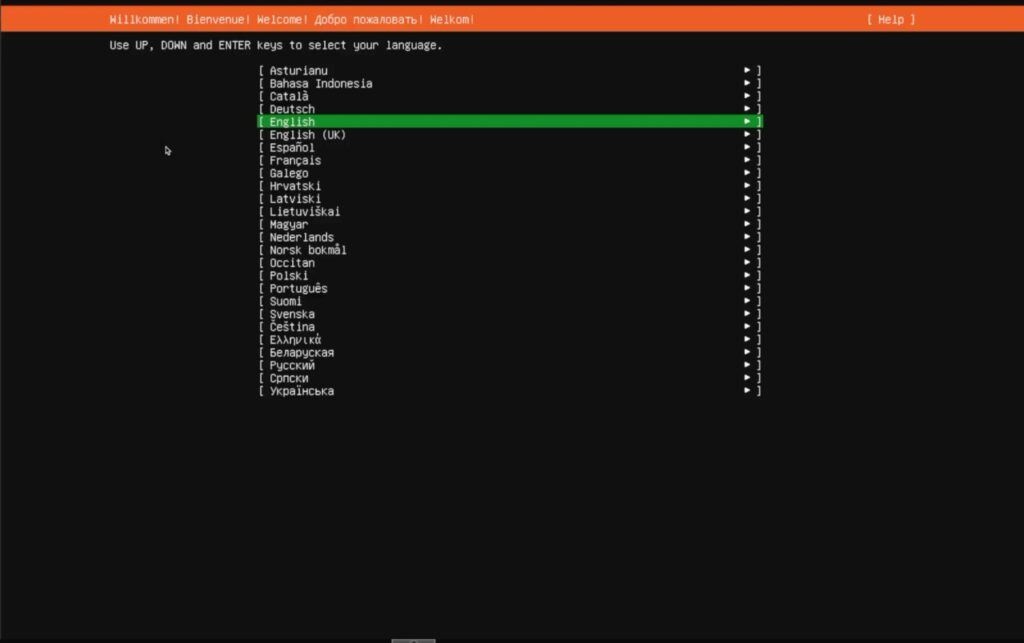
Pick your language and press enter
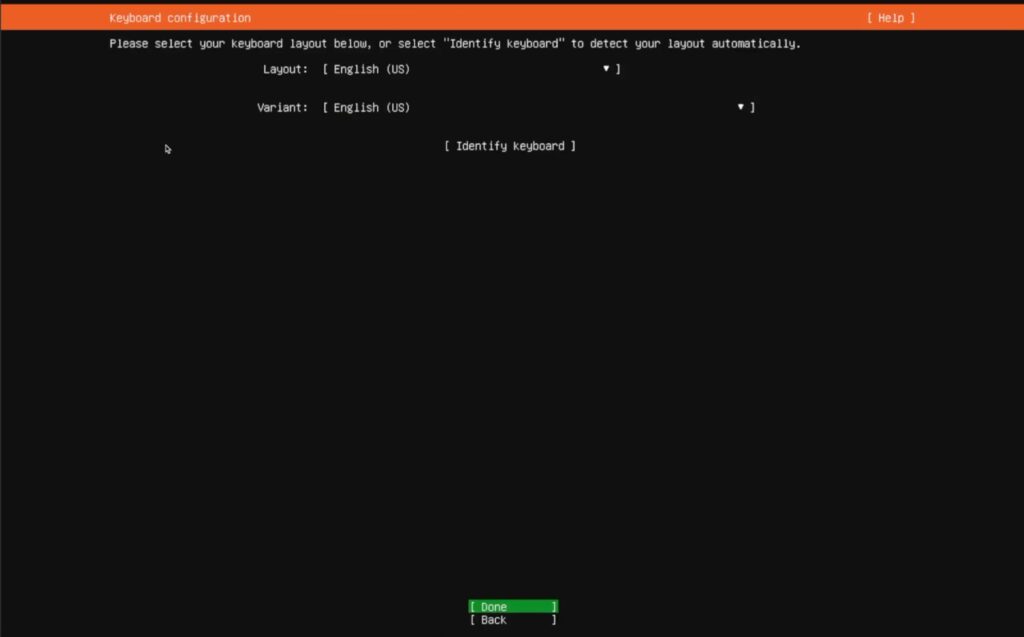
Choose your keyboard layout and press enter
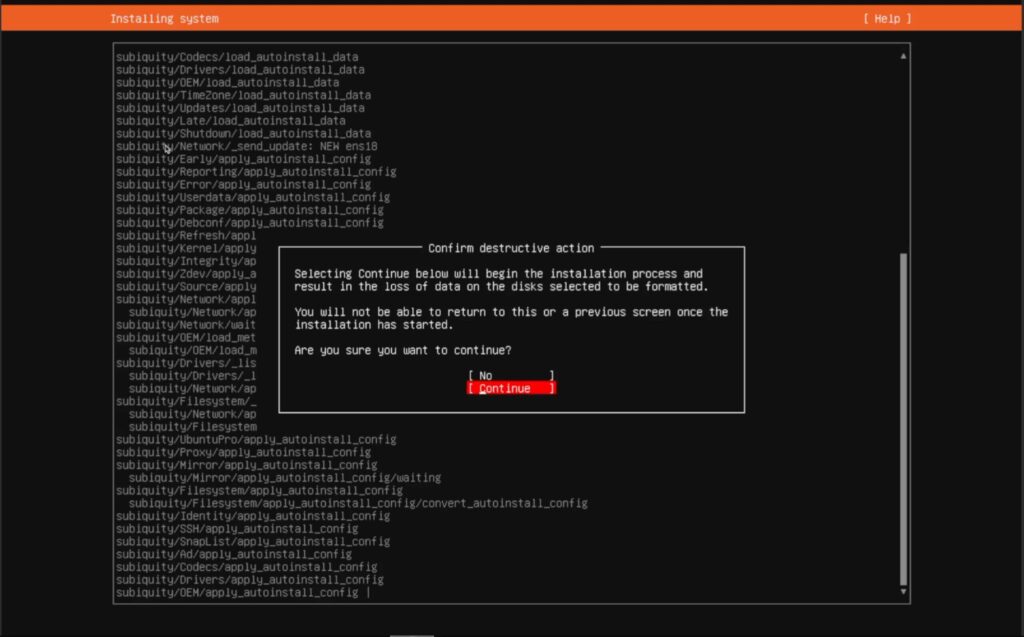
“Hey this is destructive, are you sure”…. SMASH that down arrow to continue and press enter
The install will reboot the system on its own
Don’t get psyched out here!
When the server reboots you will be prompted with a login screen. DO NOT LOGIN! It might look safe, but after the reboot and that login screen is looking at you, like you know you want to type in root / eve, resist the temptation! If you do, you will be rewarded with this screen. The screen after a few minutes will start to look like this
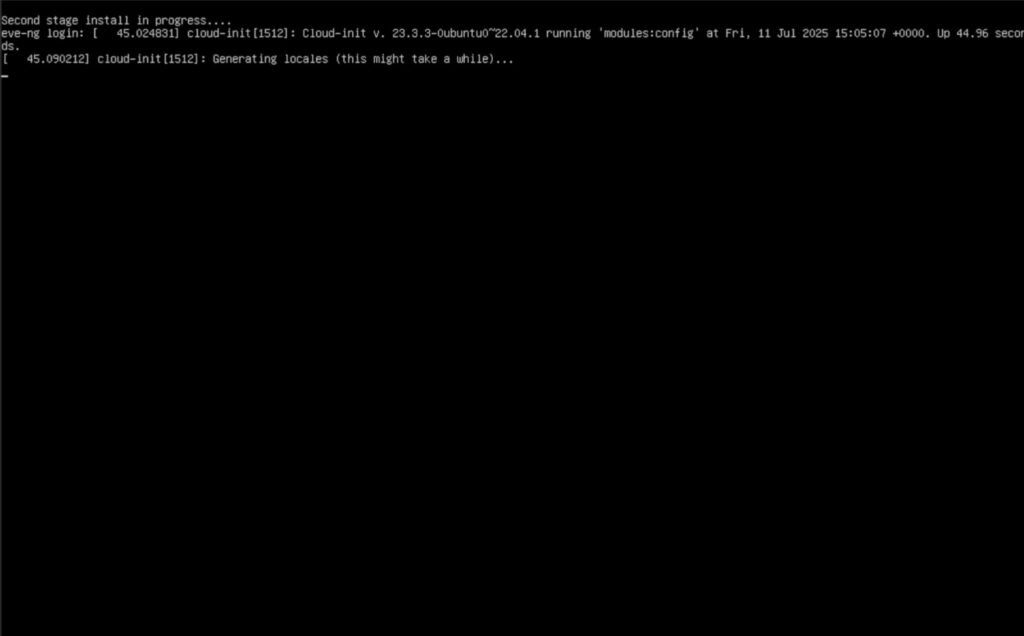
And the second stage of the install is going to start and the system will reboot again
Setting up EVE-NG
What feels like a never ending barrage of reboots we are finally here. We can now login, with the default username of root and password of eve. These are the steps to get eve setup
- Root Password
- Server Name
- Server Domain
- DHCP or Static
- IP Address
- Subnet Mask
- Default Gateway
- DNS / NTP
- Proxy
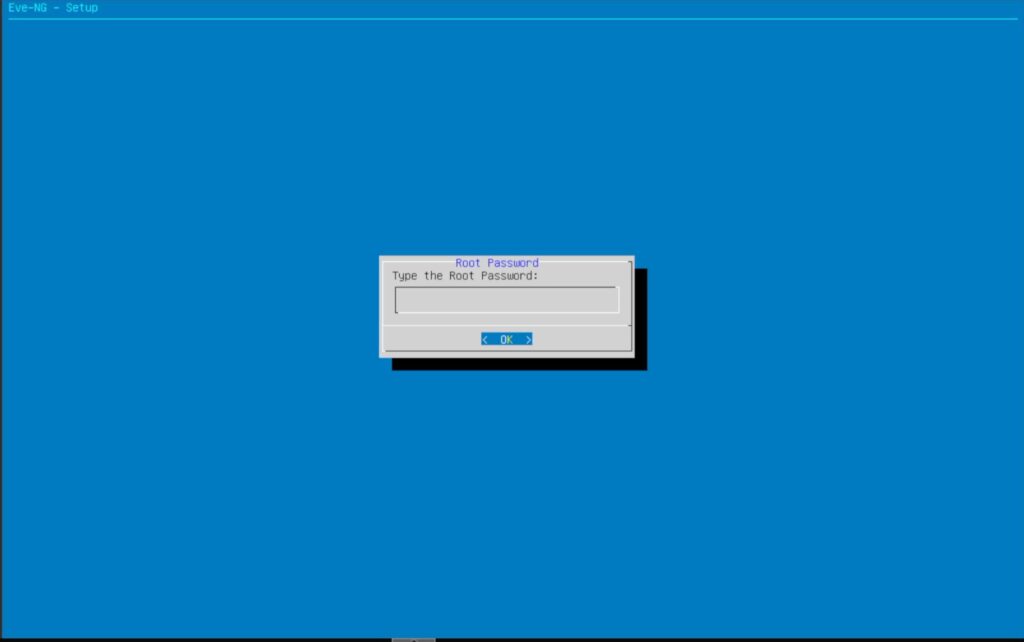
Set your root password. You are going to input it twice

Configure the servers name
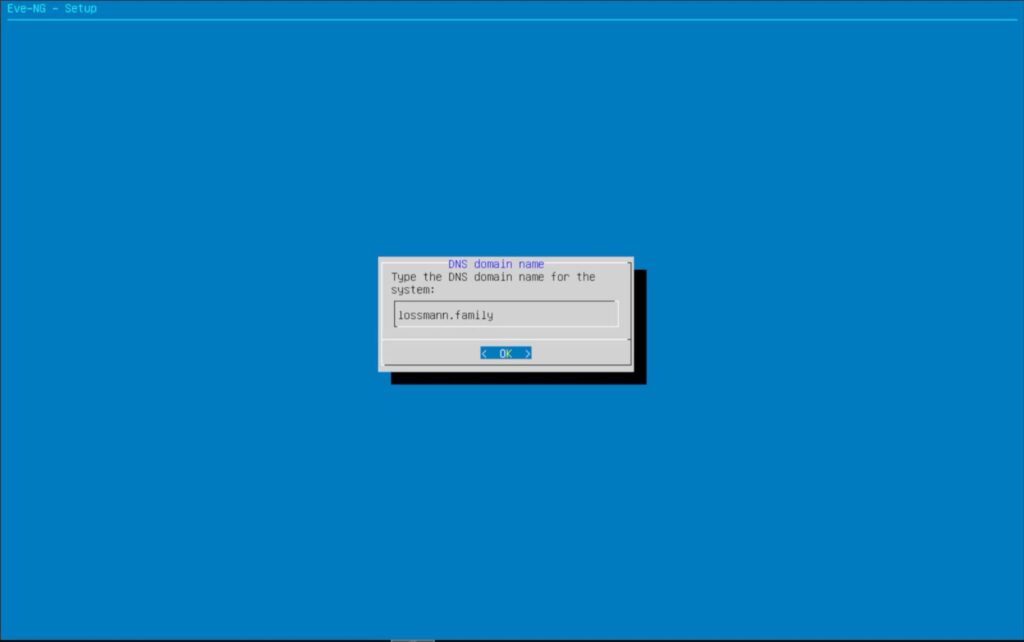
Configure the servers domain
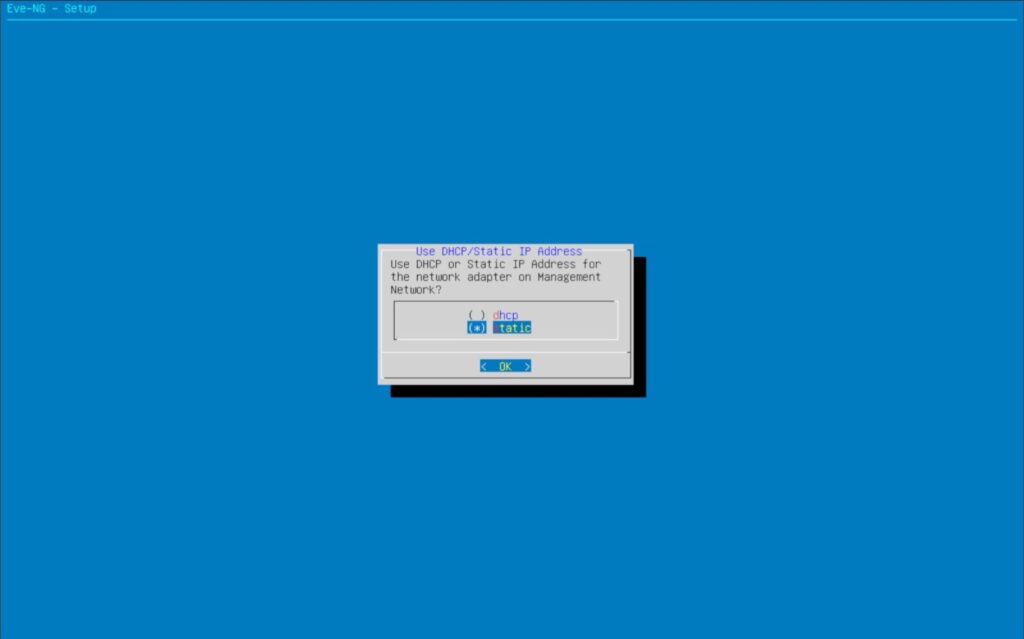
Choose if you want an address assigned via DHCP or statically assigned
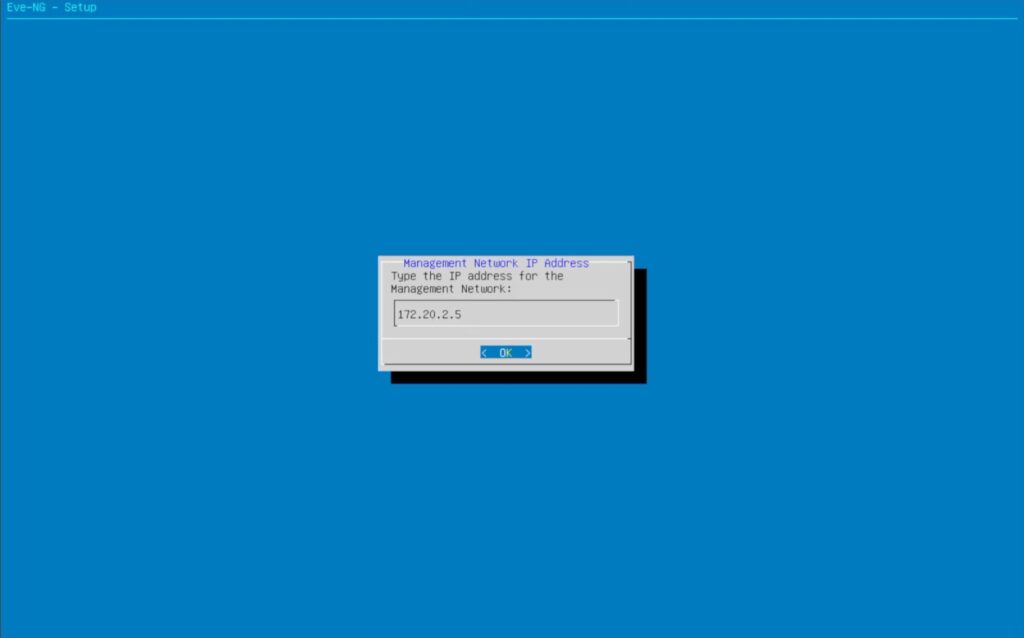
Configure the IP address you want the server to have
Configure the subnet mask for the network


Set the default gateway for the network
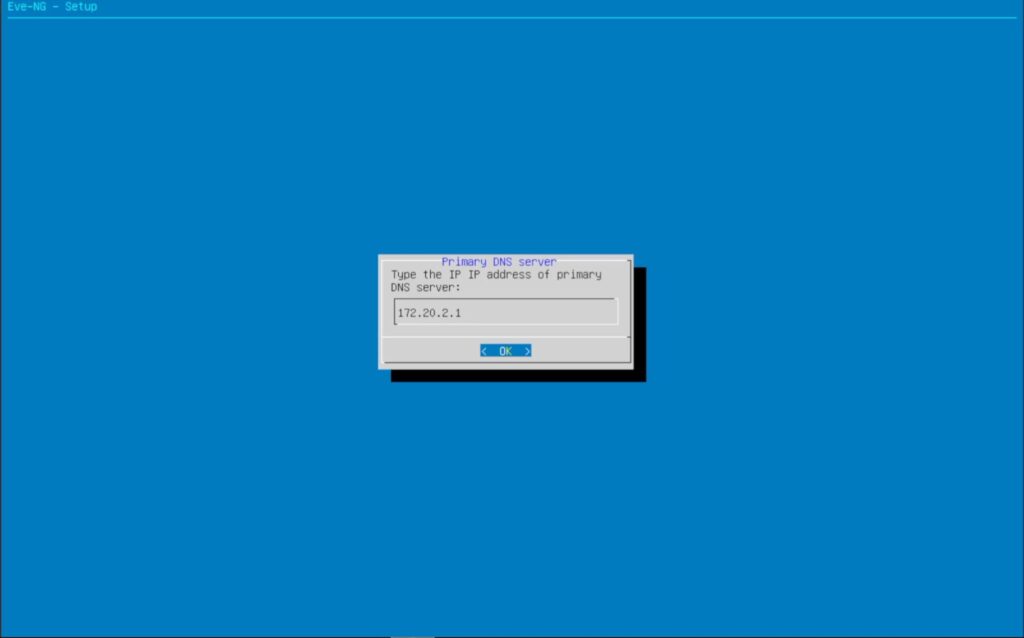
The next few screens is where you set your primary and secondary DNS servers and NTP. We are only setting the primary DNS. For secondary DNS and NTP, you can just hit enter
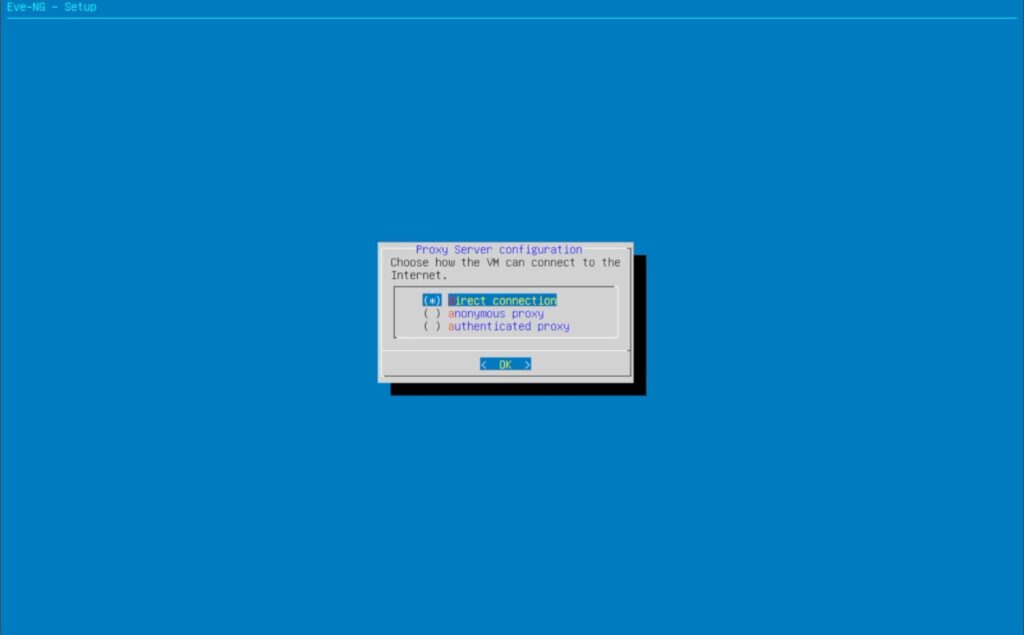
Finally, configure how the server will access the internet
Guess what? Another reboot!
Lets get this box updated!
When we can login again, login with root and your new password and we can start to update the system. There is nothing special about this install, the same way you would update any other Debian-based systems is how you update this system.
- Update apt repos
- Update installed packages
- Update installed packages – Question 1
- Update installed packages – Question 2
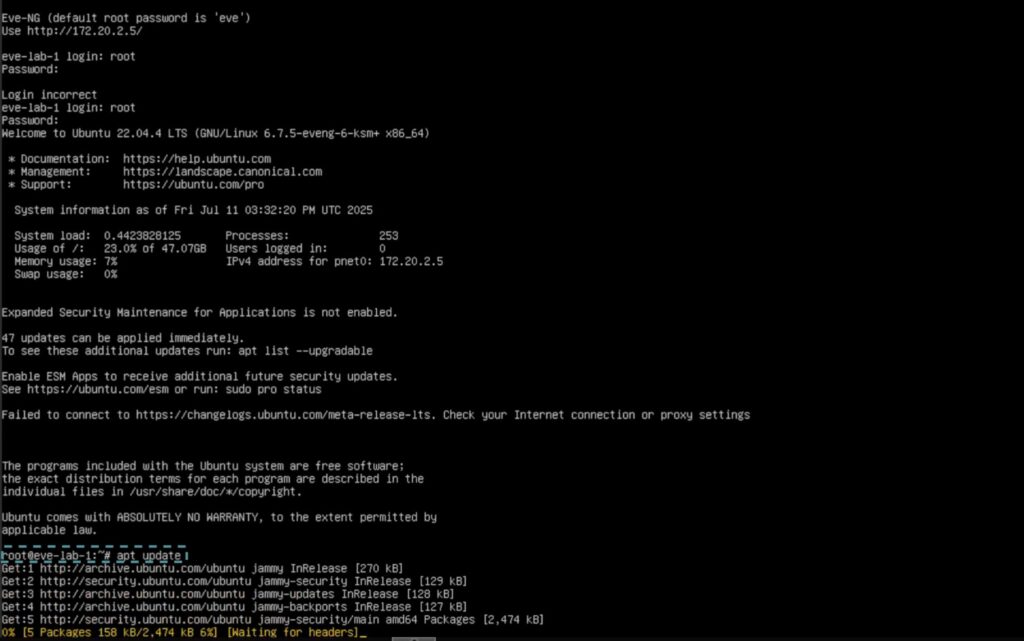
execute apt-get update
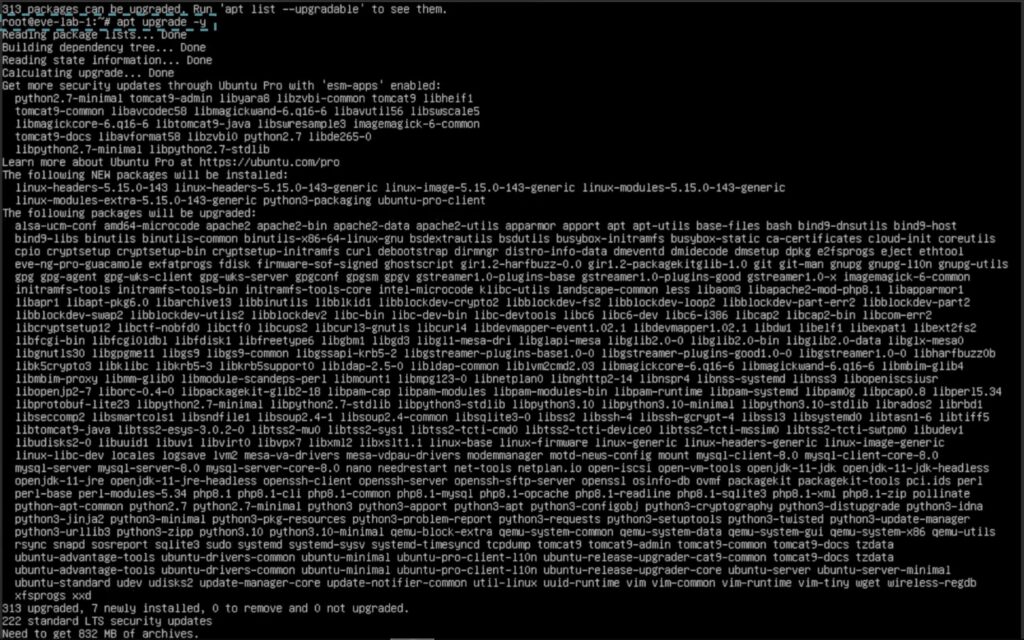
execute apt-get upgrade
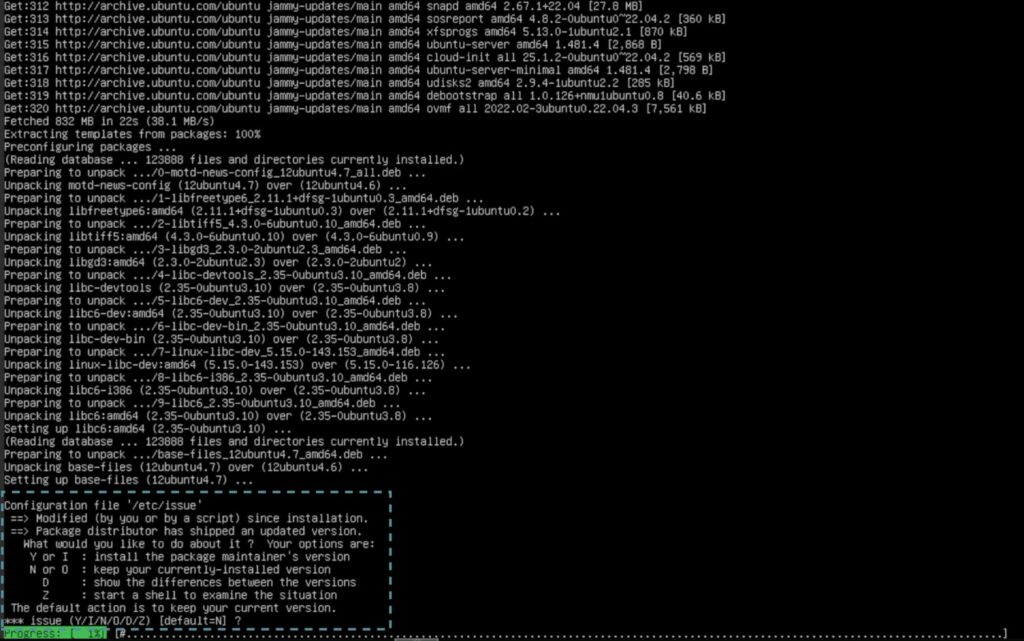
This is asking you if you want to replace a file that was edited with a newer file, its OK to say no here
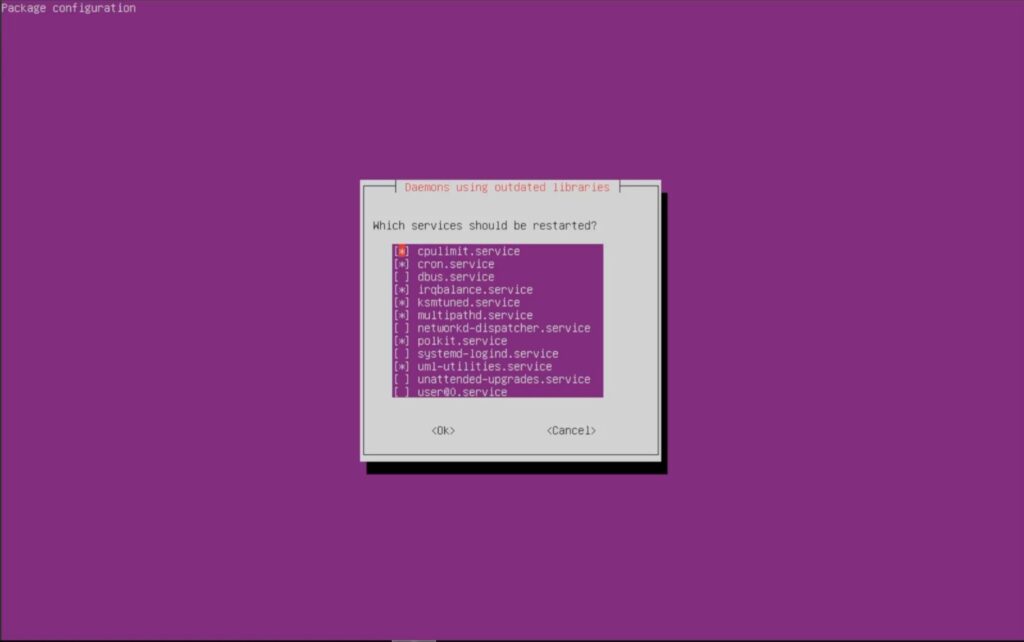
This is telling you there are some service that need to be restarted. We are good with what they are asking here because, we are rebooting after this anyway.
When you are done another reboot, please
Can I login Yet?
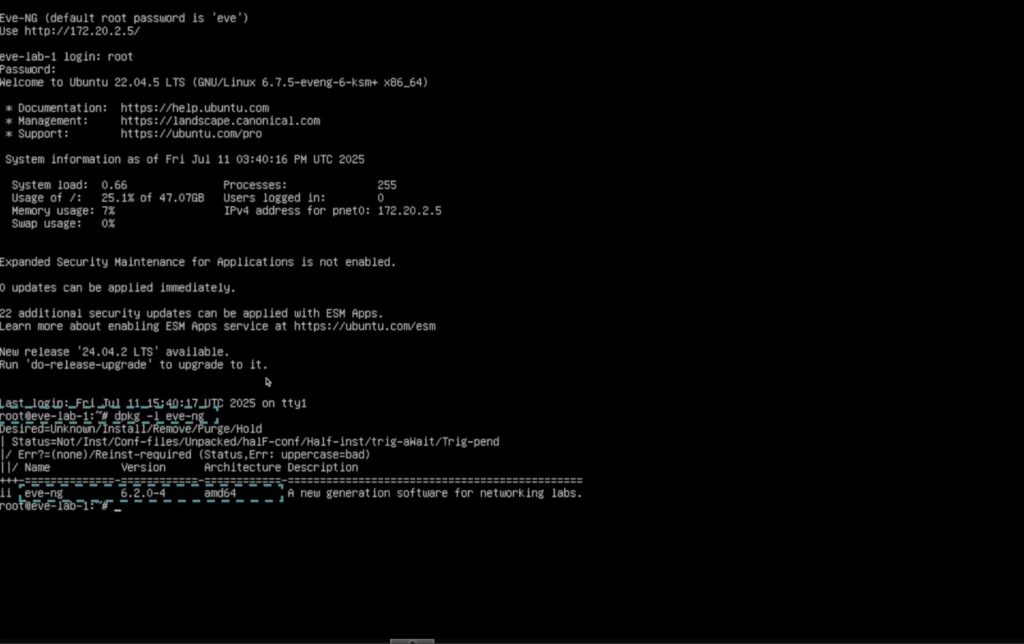
OK, after what feels like the 100th reboot, we need to login to the console one last time and verify that the eve package is there. This is done with dpkg -l eve-ng and it should return what is below. Depending on when you read this the version number might be different.
Now we are at the point we have all been waiting for. I can hear the horns in the background now. Open Chrome or Edge and go to the ip you set for the server and bask in the glory of the eve-ng login screen.
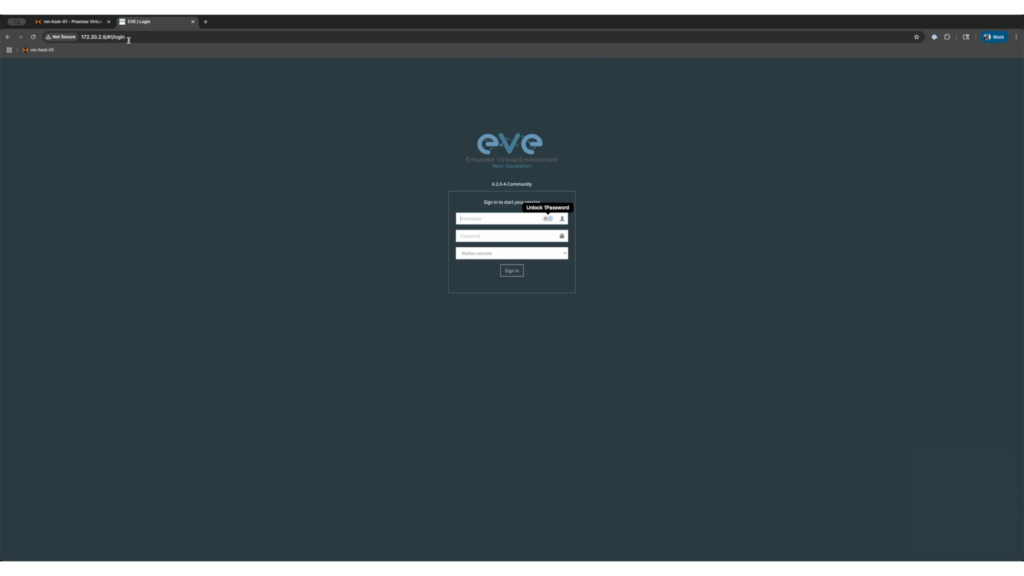
You can login with admin / eve.
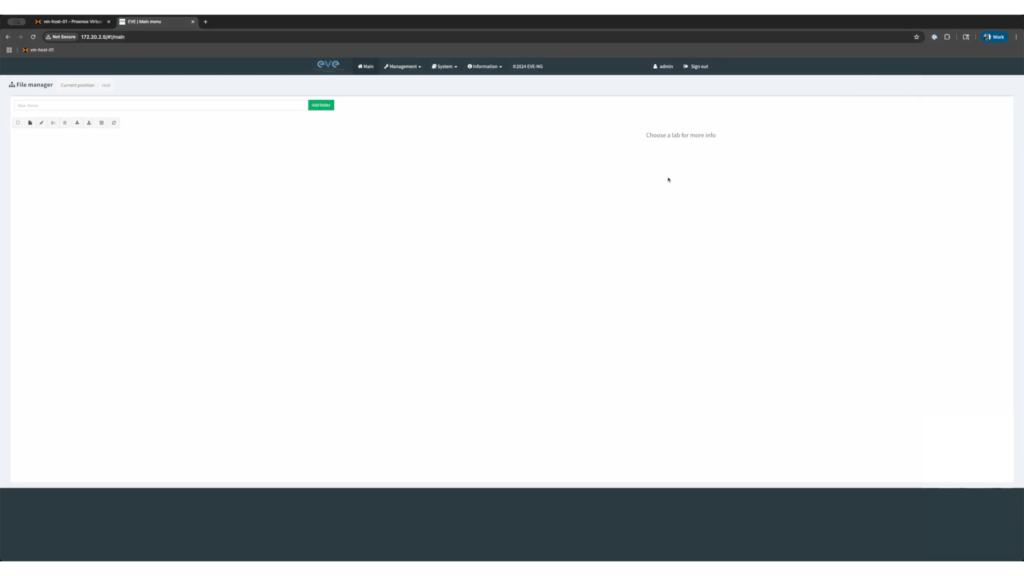
There you have it! We successfully installed eve-ng, surviving the reboot apocalypse!
UPDATE!!
EVE-NG pro was updated to 6.4, here is an updated version to show that install
While I made a few jokes about the install process and the constant reboots, this platform is really amazing for anyone who wants to get in and lab and play around in a sandbox with images that they are licensed to use. Do you use eve-ng? Is there another platform you use? Secretly I am waiting for everyone to talk about ContainerLab ;), let me know in the comments below or on my socials.