It’s a familiar scene: a brand new Palo Alto firewall, fresh out of the box and waiting for its first configuration.. It’s racked, stacked, and powered on. Now what? This guide will walk you through the essential Palo Alto firewall initial setup, getting your box from a factory-default state to a baseline configuration ready for policy.
Prefer a video walkthrough? Check out my video on it here:
Step 1: Secure Initial CLI Access
First things first, console in. Plug in a console cable or launch the VM console. The first thing you’ll see is the login prompt. The factory defaults are what you’d expect:
- username:
admin - password:
admin
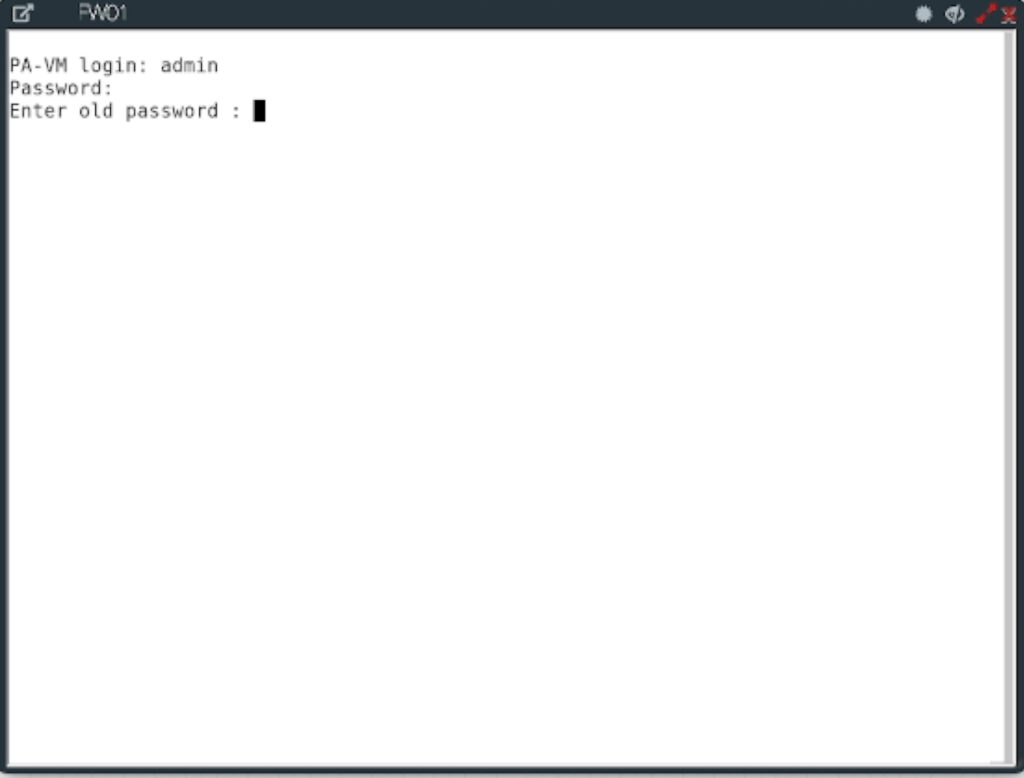
PAN-OS will immediately force a password change. This isn’t optional, and for good reason. Set a strong, complex password.
Now, let’s get off DHCP. You could leave the management interface on DHCP. A static IP is the recommended and more secure practice. You don’t want your access point to the firewall changing unexpectedly, and static IPs are mandatory in many change control policies.
Enter configuration mode with configure and issue the following commands:
set deviceconfig system type static
set deviceconfig system ip-address {{ ip_address }} netmask {{ netmask }} default-gateway {{ gateway }} dns-setting servers primary {{ dns-server }}
Lock in the changes with a commit. Once the commit completes, you’re live. Point your browser to https://{{ip_address}} to access the GUI.
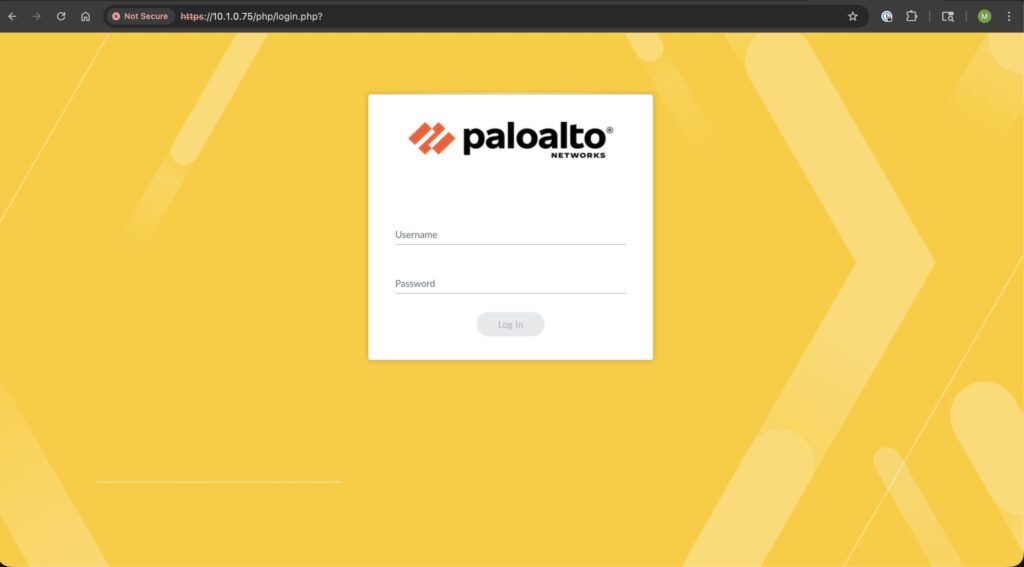
Step 2: Basic System Settings in the GUI
With management access secured, let’s jump into the web interface. The first stop is giving the device its identity.
Navigate to Device > Setup > Management and click the gear icon under General Settings.

At a minimum, configure these settings:
- Hostname: Give the firewall a unique, descriptive name.
- Domain: Set your organization’s domain name.
- Timezone: Select your correct timezone.
Getting your NTP and timezone right is critical for accurate logging, certificate validation, and troubleshooting down the line. Don’t skip this. Click OK. Lock everything in with the Commit button up in the top-right.
Step 3: Planning Your Interface Layout
Let’s get our interface plan straight. We’ll use a simple table to stay organized and avoid mistakes. For this setup, here’s our blueprint:
| Interface Name | IP Address | Zone | Virtual Router | Management Prof |
|---|---|---|---|---|
| Ethernet1/1 | 12.44.50.1/29 | OUTSIDE | default | ping-only |
| Ethernet1/2 | 10.0.0.1/24 | INSIDE | default | ping-only |
| Ethernet1/3 | 172.16.1.0/25 | DMZ | default | ping-only |
Step 4: Core Interface Configuration
The process for configuring Layer 3 interfaces is consistent. We’ll walk through the OUTSIDE interface, ethernet1/1, and you’ll repeat these steps for the INSIDE and DMZ interfaces, swapping out the IP and Zone names.
Navigate to Network > Interfaces > Ethernet and click ethernet1/1.
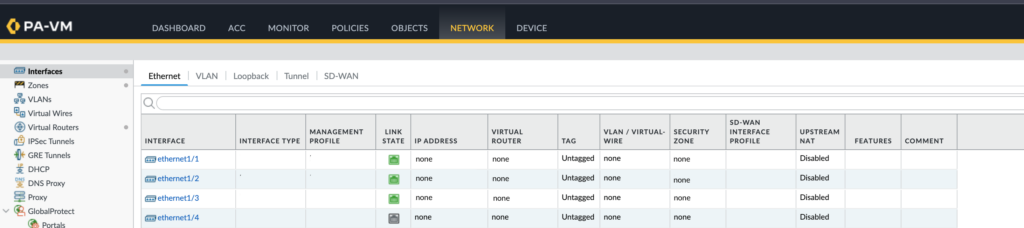
- Interface Type: Set this to Layer 3. We’re making this a routed interface that will act as a gateway for its connected network.
- Virtual Router: Assign it to the
defaultVirtual Router. This is the firewall’s main routing table. - Security Zone: This is the cornerstone of PAN-OS policy. Zones are logical containers for interfaces that we use to write our security rules.
- Click Security Zone and select New Zone….
- Name the zone
OUTSIDEand click OK.
- IP Address:
- Click the IPv4 tab.
- Ensure Type is set to Static.
- Click Add and enter the IP address with its CIDR notation:
12.44.50.1/29.
- Management Profile: This is a critical security step. You never want to expose services like SSH or HTTPS on an external-facing interface. We’ll create a lean profile to allow for basic connectivity testing.
- Click the Advanced tab.
- Under Management Profile, select New Management Profile….
- Name the profile
ping-only. - Check the box for Ping and leave everything else unchecked. Click OK.
Click OK again to close the interface configuration window. Repeat this process for ethernet1/2 and ethernet1/3 according to the plan above, creating new zones named INSIDE and DMZ.
Ready to make it live? Click the Commit button
And that’s it. Your firewall is officially on the network with its basic interfaces defined. The basic setup is complete. We can start building the security policies. We’ve established management, defined our network segments, and locked down interface access.
In the next post, we’ll dive into the real power of PAN-OS: building Security Policies to control the traffic flow. What are the first things you configure on a new box? Drop your day-one checklist in the comments below or let me know over on my socials.